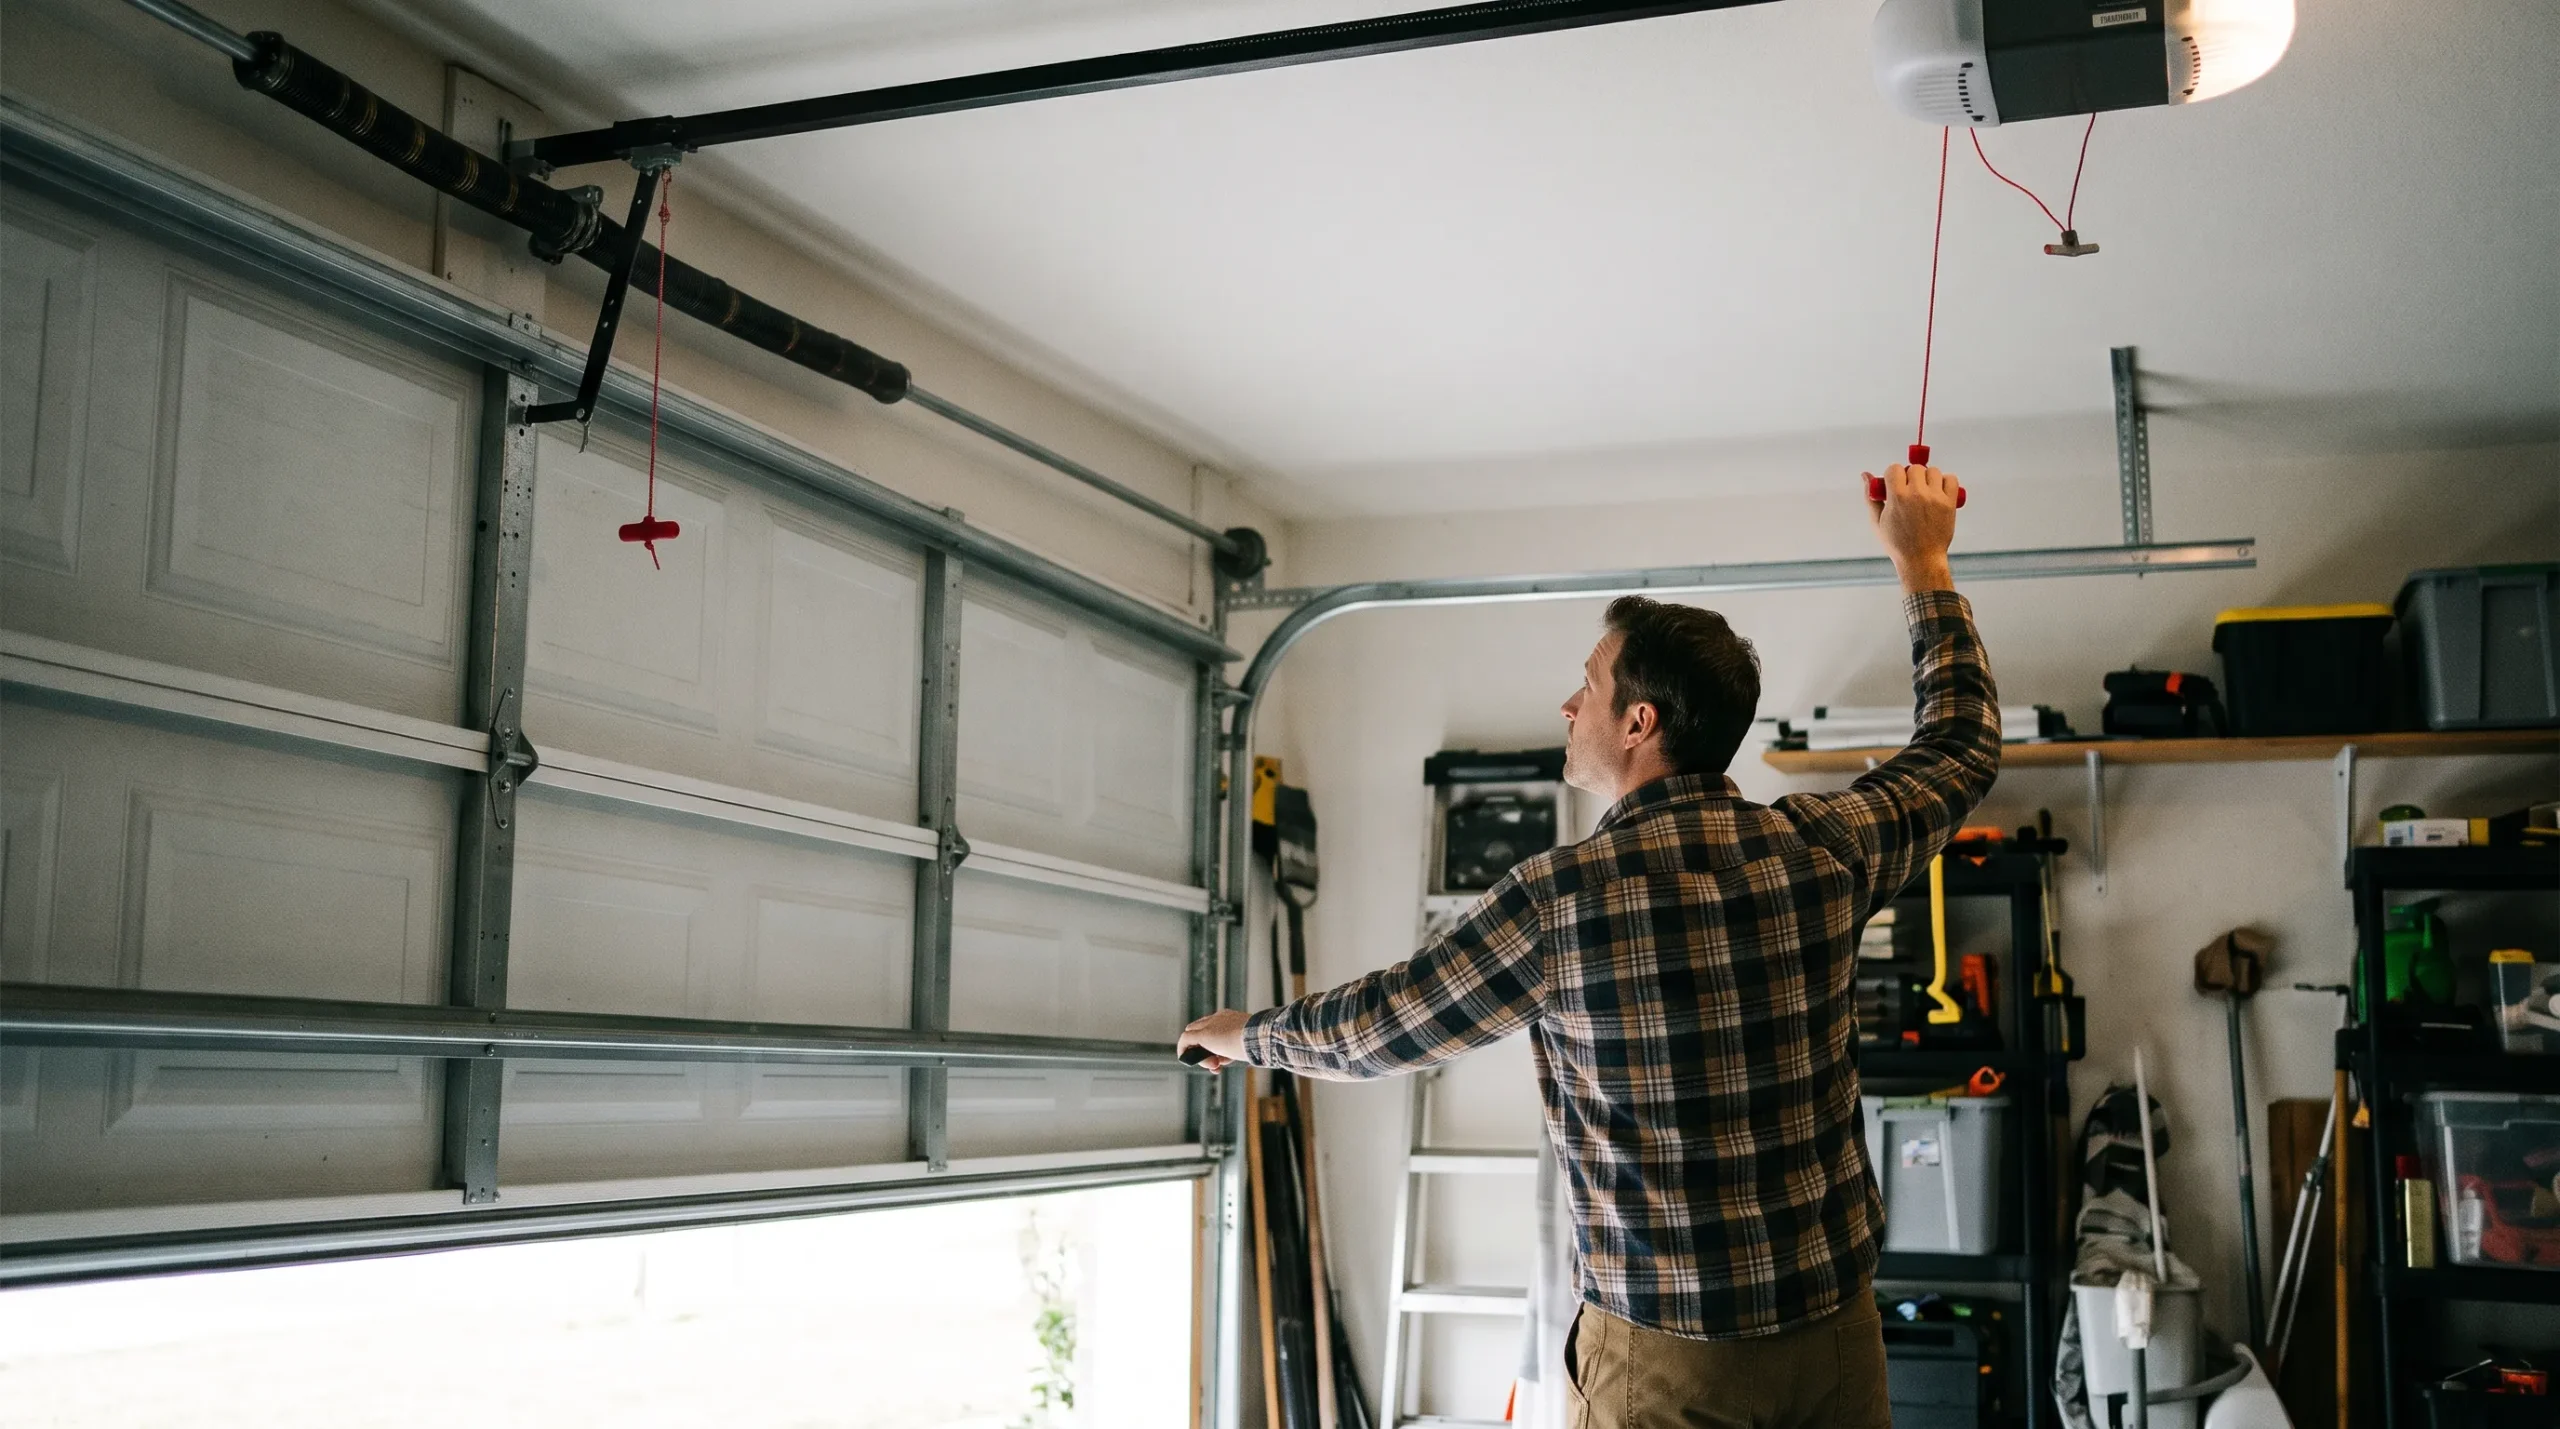
A continuously blinking LiftMaster garage door light almost always points to one of four causes: misaligned safety sensors, an obstruction in the door’s path, a remote control issue, or a wiring problem. Safety sensor misalignment is by far the most common cause, and realigning the sensors while wiping the lenses clean resolves most cases in a few minutes. If the light keeps blinking after checking all four, a system reset or a call to a professional for LiftMaster garage door opener repair is the next step.
Key Takeaways
- Misaligned or dirty safety sensors cause the large majority of continuous blinking light issues.
- The sensors need to face each other directly and glow solid, not blinking, to confirm proper alignment.
- Remote control problems and wiring issues are less common but produce the same blinking symptom.
- A blinking light paired with beeping usually points to the same sensor or obstruction issue, just signaled two ways at once.
- Unplugging the opener for a minute often clears a temporary glitch before you move on to deeper troubleshooting.
- If blinking continues after checking sensors, obstructions, remotes, and wiring, it’s time to call a professional.
LiftMaster Blink Patterns and What They Mean
Seeing the pattern alongside its likely cause helps you skip straight to the right fix instead of guessing.
Reading the Pattern Before You Start Troubleshooting
| Blink Pattern | Likely Cause | Quick Fix |
| Continuous rapid blinking, no obstruction visible | Misaligned or dirty safety sensors | Realign sensors and wipe lenses clean |
| Blinking paired with beeping | Sensor issue or a more serious fault | Check sensors first, then reset the unit if needed |
| Light blinks roughly 10 times | Sensors blocked or misaligned | Clear the sensor path and confirm alignment |
| Blinking stops after cleaning the lenses | Dust or debris on the sensor lenses | Wipe with a dry cloth and recheck |
| Blinking continues with the door refusing to close | Sensor or obstruction issue affecting both systems | Check sensors and the full door path together |
Quick DIY vs. pro guide: Sensor alignment, cleaning, obstruction checks, and remote troubleshooting are all fine to do yourself. Wiring repairs and anything involving damaged electrical components should go to a licensed technician.
Understanding Why the Garage Door Light Blinks
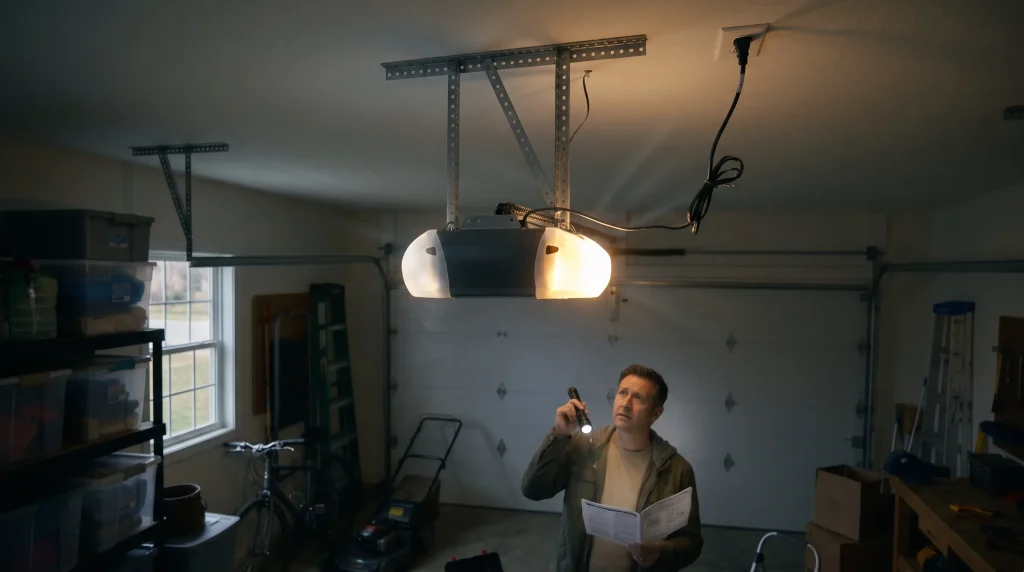
The continuous blinking of a LiftMaster opener light typically signals a specific problem with the system, and each cause has its own tell.
The Four Most Common Causes of a Blinking Light
- Safety Sensor Misalignment: The most common reason for a blinking light. The infrared sensors on either side of the door near the floor must face each other properly; if they don’t, the system detects an error. Realigning the sensors and keeping them free of dirt resolves most cases.
- Obstruction in the Door’s Path: An object blocking the door’s path triggers the light as a warning. Check for tools, debris, or other items in the way, and make sure the sensor lenses are clean and clear of dust or spider webs.
- Remote Control Issues: A low or dead battery, or a programming error, can cause the light to blink. Replace the batteries and reprogram the remote per the manual, and confirm nothing is blocking its signal or interfering with the connection.
- Wiring Problems: Damaged or loose wiring can disrupt the connection between the sensors and the opener. Inspect for visible damage or loose connections, and contact a professional if you’re not comfortable handling electrical components.
Several of these causes trace back to a specific part of the system rather than the opener as a whole. Our guide Garage Door Opener Parts: Comprehensive Guide for Homeowners explains what each component does and how to identify which one is actually failing.
Initial Steps Before Troubleshooting
Before diving into any specific fix, a quick preliminary check often narrows down the cause and saves time.
What to Check Before You Start Troubleshooting Anything
Start by observing the opener’s behavior: no response at all might indicate a power or remote issue, while strange noises suggest a mechanical problem instead. Confirm the power supply is intact by checking the outlet with another device and inspecting the breaker box for tripped breakers. Reviewing your LiftMaster model’s owner’s manual also helps, since understanding your specific blink pattern can guide the rest of the process more efficiently.
If you’re setting up a new opener or reviewing how the whole system fits together, our guide Your Complete Guide: How to Set Up Your Garage Door Opener covers every step from installation through initial programming.
Troubleshooting the Continuous Blinking Light
Once you’ve ruled out the basics, work through these five steps in order to identify and resolve the specific cause.
The Five Steps to Stop a Blinking Light for Good
- Check the Safety Sensors: Locate the sensors near the floor on either side of the door and confirm they face each other directly. Adjust them until both lights glow solid, clear any obstructions from their line of sight, and wipe the lenses clean with a soft, dry cloth.
- Inspect for Obstructions: Manually check the door’s full path for tools, bicycles, or other items, and make sure the tracks are clear of debris, rust, or buildup that could interfere with smooth movement.
- Troubleshoot Remote Control Issues: Replace weak or dead remote batteries, and reprogram the remote per your LiftMaster manual if it’s lost its connection to the opener.
- Inspect the Wiring: Check connections at the opener and sensors for looseness or damage, and repair or replace any wiring you find compromised, or bring in a professional if you’re unsure.
- Perform a System Reset: Unplug the opener for a minute to clear any temporary glitch, then plug it back in and reprogram any remotes or keypads as needed.
A blinking light often shows up alongside a door that won’t close properly, since both symptoms frequently share the same root cause. Our guide 5 Shocking Reasons Your LiftMaster Garage Door Won’t Close And How to Fix Them! covers that connection in more detail.
Common Blinking Patterns and What They Mean
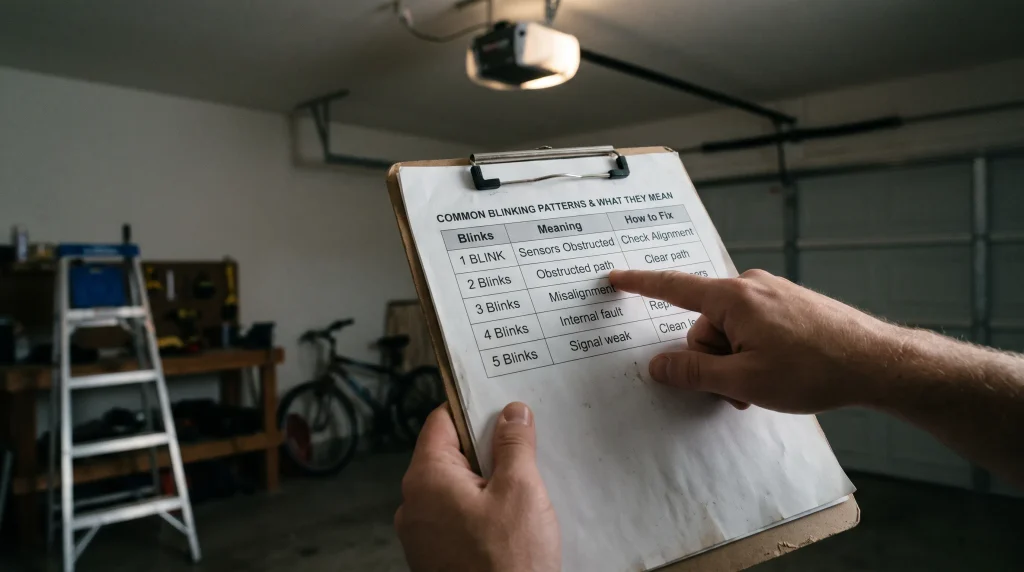
Not every blinking pattern points to the same cause, and a few specific combinations are worth understanding on their own.
When Blinking and Beeping Happen Together
A blinking light paired with beeping often means the same underlying issue is being signaled two different ways at once, usually a sensor problem or an obstruction, rather than two separate faults.
If your opener is beeping specifically, whether or not the light is also blinking, our guide Is Your Liftmaster Garage Door Opener Beeping? Here’s What It Means and How to Fix It Fast! explains what that sound means on its own.
Per ULSE’s overview of automatic garage door safety standards, these built-in warning signals exist specifically to stop the door before it can cause harm, which is why a blinking or beeping opener shouldn’t be ignored or worked around.
When Blinking Means You Need a Professional
Most blinking light issues resolve with the steps above, but a few situations call for professional help instead of continued troubleshooting.
Signs It’s Time to Stop Troubleshooting and Call a Technician
If you’ve checked the sensors, cleared obstructions, replaced remote batteries, and reset the system, and the light still blinks continuously, the issue is likely wiring, a control board fault, or something else that needs diagnostic tools to pin down safely. Continuing to force the door open and closed at this point risks further damage or injury.
Repair costs at this stage vary depending on what’s actually wrong, and our guide Secrets to Reducing LiftMaster Garage Door Opener Costs Without Sacrificing Quality breaks down what different LiftMaster repairs and replacements typically run.
How to Prevent Blinking Light Issues in the Future
Once the light stops blinking, a bit of routine upkeep keeps the problem from coming back.
A Simple Habit That Prevents Most Repeat Issues
Wiping the sensor lenses clean and confirming alignment every few months catches the most common cause before it turns into a blinking light again. Per DASMA’s consumer safety guidance, this kind of routine sensor check should be part of regular garage door maintenance regardless of how your opener is mounted.
If your system uses a side-mounted configuration rather than a standard overhead one, our guide Efficiency and Convenience: The Benefits of Having a Side-Mounted Garage Door Opener covers the maintenance routine for that setup specifically.
Getting Your Opener Light Back to Normal
A continuously blinking LiftMaster light almost always traces back to one of four causes, and working through sensors, obstructions, the remote, and wiring in order resolves the large majority of cases without a service call. Regular sensor cleaning and alignment checks are the single best way to keep the light from coming back.
All About Doors handles blinking light issues from a simple sensor realignment to more involved wiring repairs, and our experienced technicians can diagnose the exact cause quickly rather than having you guess through each possibility alone. Contact us or give us a call, and we’ll get your opener’s light back to solid and steady.
Frequently Asked Questions
Why is my garage door opener light blinking continuously?
Continuous blinking most often signals misaligned or dirty safety sensors. Make sure the sensors face each other with a clear line of sight, clean the lenses with a soft cloth, and check for damaged wires or loose connections.
Why is my garage door beeping and light flashing?
Beeping and flashing together can indicate a more serious fault, such as misaligned sensors or an obstruction. Check the sensors first, and if there’s no physical obstruction, consult your manual for error codes or reset the unit by unplugging it briefly.
Why is my LiftMaster light blinking 10 times?
Roughly ten flashes usually indicate the safety sensors are blocked or misaligned. Check the path between the sensors for obstructions and confirm they’re properly aligned and clean; this pattern is a built-in safety feature preventing the door from closing improperly.
Why is my garage door light blinking and won’t close?
This combination often points to a sensor problem. Verify both sensor LEDs are solidly lit, not flickering, realign or replace them if needed, and check for physical obstructions or force settings that might also be affecting closure.
How do I reset my LiftMaster after fixing a blinking light issue?
Unplug the opener for about a minute, plug it back in, and reprogram any remotes or keypads that may have lost their connection during the reset.
Can cold weather cause a LiftMaster light to blink?
Indirectly, yes. Cold weather can cause condensation on sensor lenses or affect wiring connections, both of which can trigger the same blinking symptoms as dirt or misalignment.
Is a blinking light dangerous to ignore?
The blinking itself is a safety feature, not a danger, but ignoring the underlying cause, especially an obstruction or sensor failure, means the door’s automatic safety reversal may not work correctly when it matters.
How long does it typically take to fix a blinking light issue?
Our rule of thumb from the field: sensor alignment and cleaning take just a few minutes and resolve most cases; wiring repairs or a technician visit can take longer depending on what’s actually wrong.
Can I clean the sensors myself, or do I need a professional?
Cleaning and basic alignment are safe to do yourself with a soft, dry cloth. If cleaning and alignment don’t resolve the issue, that’s when wiring or control board problems become more likely, and a professional should take over.