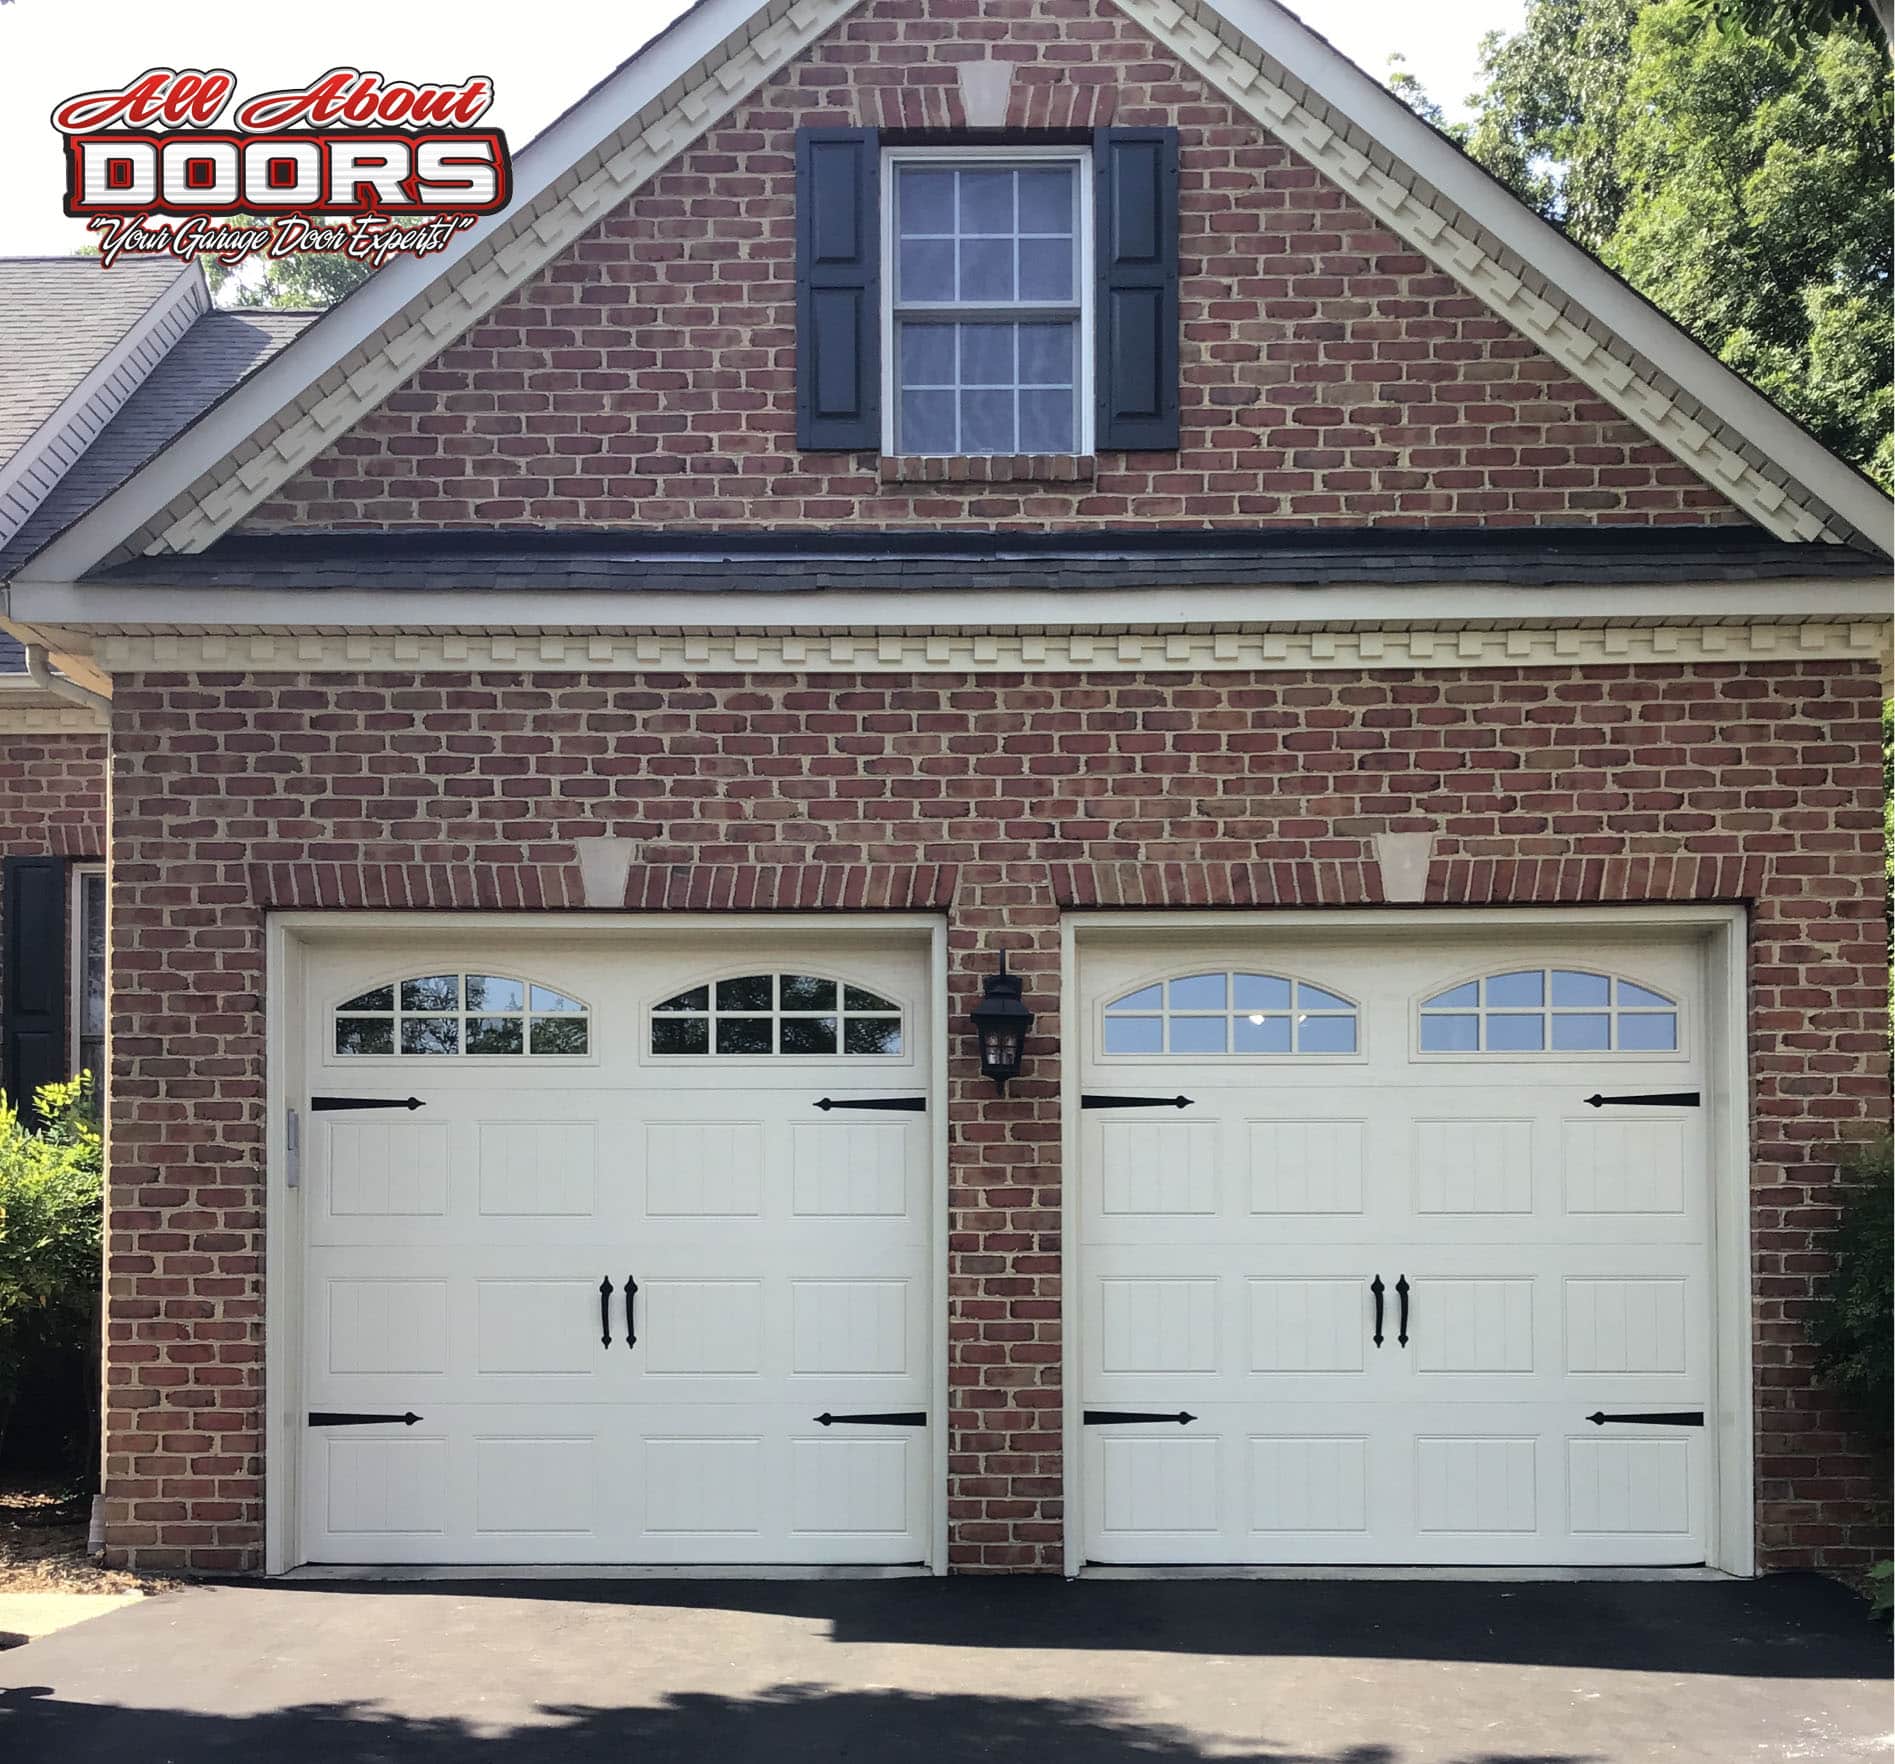
Programming your garage door opener might seem tricky, but it’s actually pretty simple and something you can do yourself. Whether you have a new garage door or need to reprogram an old one, this guide will show you how. We’ll also share some tips for fixing common problems so your garage door opener works perfectly. This isn’t just about convenience—it’s about making sure your home is safe and secure.
Before we dive into the steps, let’s talk about why this matters. A well-functioning garage door opener means you won’t be stuck outside in bad weather, and you’ll have peace of mind knowing your home is secure. Plus, doing it yourself can save you the cost of hiring a professional for garage door repair.
So, grab your tools, and let’s make this garage door repair a breeze! You’ll be surprised at how easy it is to get your garage door opener working like new. Whether you’re a seasoned DIYer or a beginner, our simple guide will walk you through each step. Let’s get started on making your life a little bit easier!
What is a Garage Door Opener?
Garage door openers are not just about convenience; they play a crucial role in home security and accessibility. Knowing how they work and the types available helps in maintenance and troubleshooting.
A garage door opener is a motorized device that opens and closes your garage door, typically with a remote control. This enhances security by preventing unauthorized access. There are three main types: chain drive, belt-drive, and screw drive. Chain-drive openers are reliable and affordable but can be noisy. Belt-drive openers are quieter ideal for attached garages. Screw-drive openers require less maintenance.
Regular maintenance includes checking sensors, cleaning tracks, and replacing remote batteries. Understanding these basics ensures your home stays secure and accessible.
Types of Garage Door Openers
Garage door openers come in several forms, each varying slightly in mechanics and features. The most common types include:
Chain Drive
Chain drive openers use a metal chain to pull or push the trolley that moves your garage door up and down. These openers are known for their durability and cost-effectiveness. However, they can be quite noisy, which might be a consideration if your garage is attached to your home.
Belt Drive
Belt drive openers work similarly to chain drive openers but use a belt instead of a chain. This makes them much quieter during operation. They are ideal for homes with living spaces adjacent to or above the garage, as the reduced noise can be a significant advantage.
Screw Drive
Screw drive openers utilize a threaded steel rod to move the garage door. These openers have fewer moving parts, which means they tend to require less maintenance compared to chain or belt drive openers. They are a reliable and efficient option for many homeowners.
Direct Drive
In direct-drive openers, the motor itself functions as the trolley, meaning there is no need for a belt, chain, or threaded rod. This design results in quieter operation and fewer parts that can wear out over time, making direct drive openers a low-maintenance and durable choice.
Components of a Garage Door Opener
Understanding the main components of your garage door opener can simplify troubleshooting and repair. Key components include:
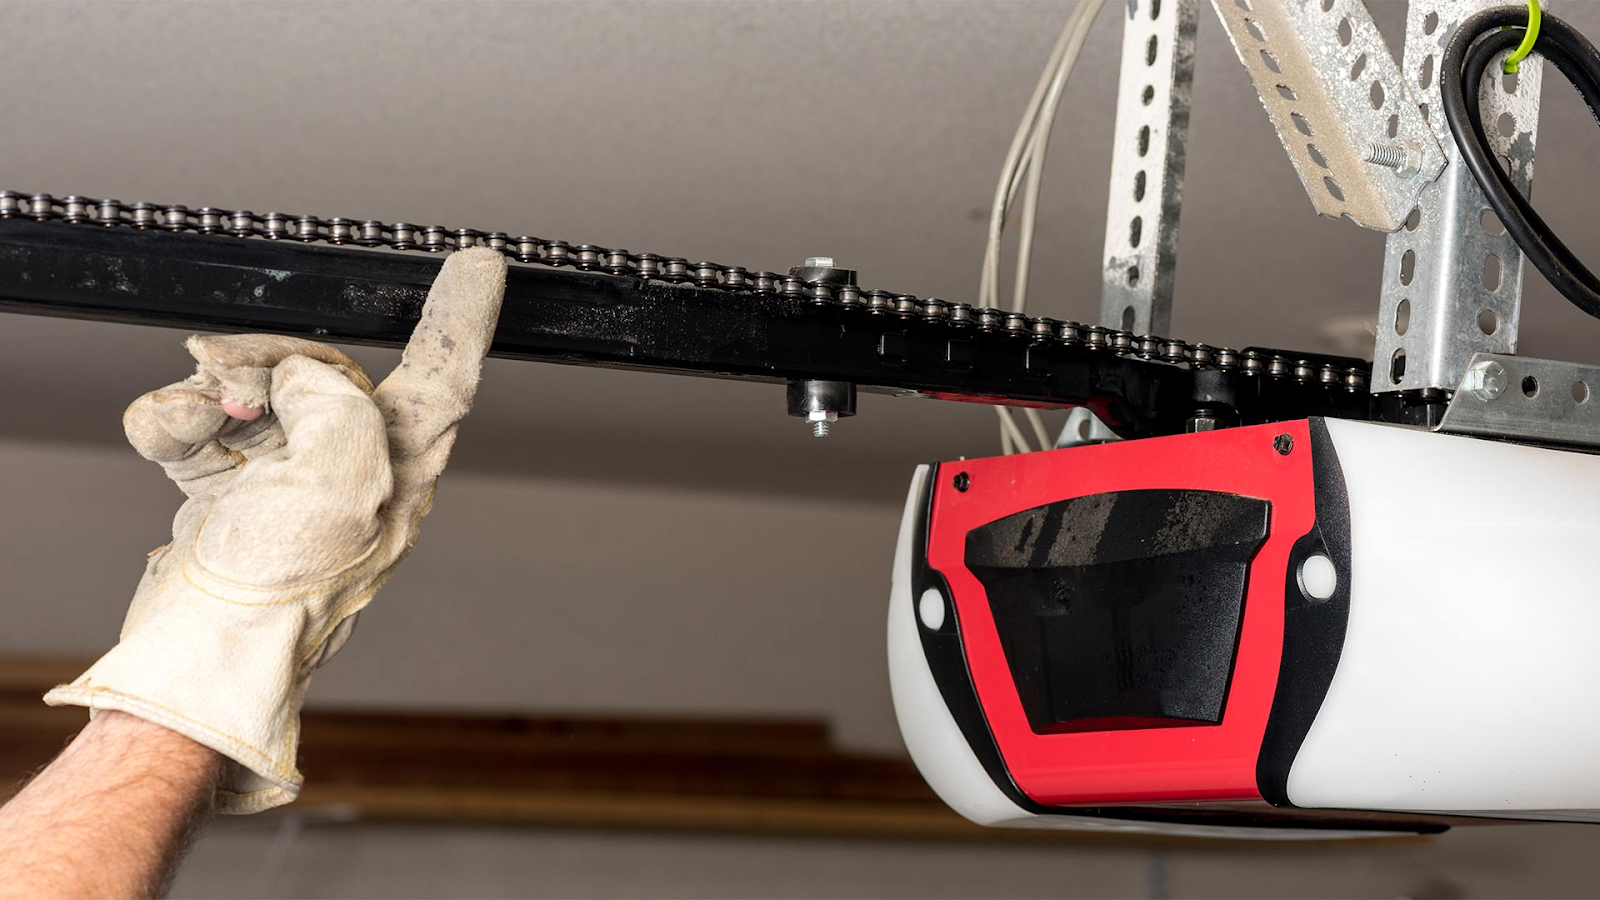
Motor
The motor is essentially the powerhouse of your garage door opener. Just like the engine in your car, it provides the necessary power to lift and lower the garage door. Without a functioning motor, your garage door wouldn’t be able to move at all.
Trolley
The trolley, connected directly to the motor, is responsible for moving the garage door up and down. It travels along the rail, carrying the door with it. Imagine it as the carrier that transports your garage door to its open or closed position.
Rail
The rail serves as a guide for the trolley. It’s a metal track that ensures the trolley moves in a straight line, helping the garage door open and close smoothly. Think of it like a train track, keeping everything on course.
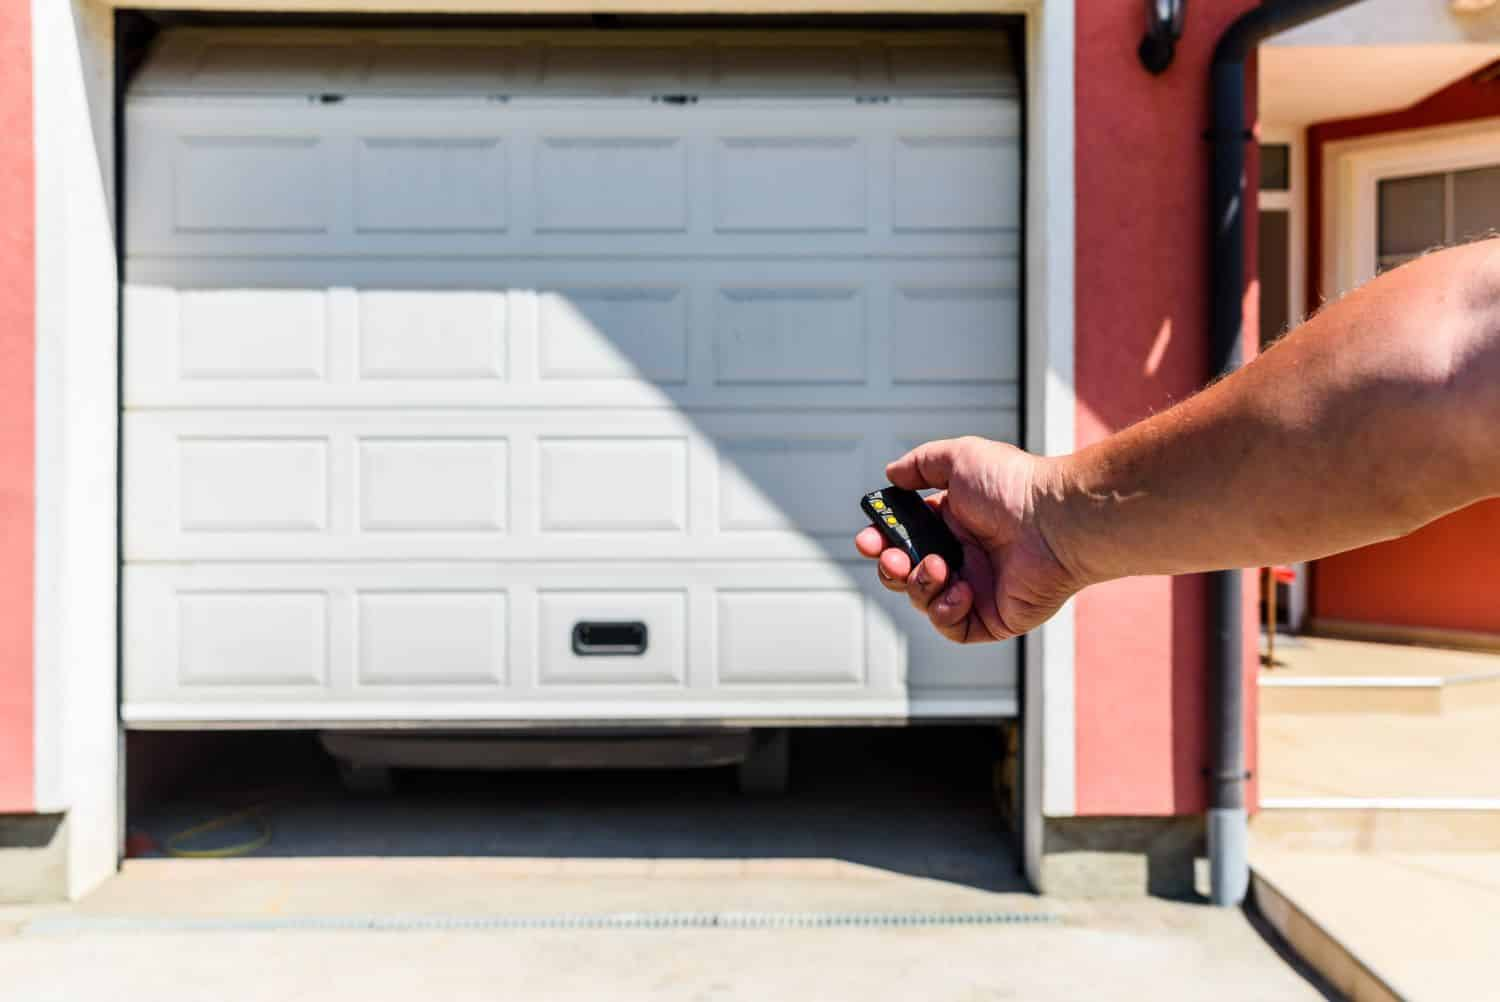
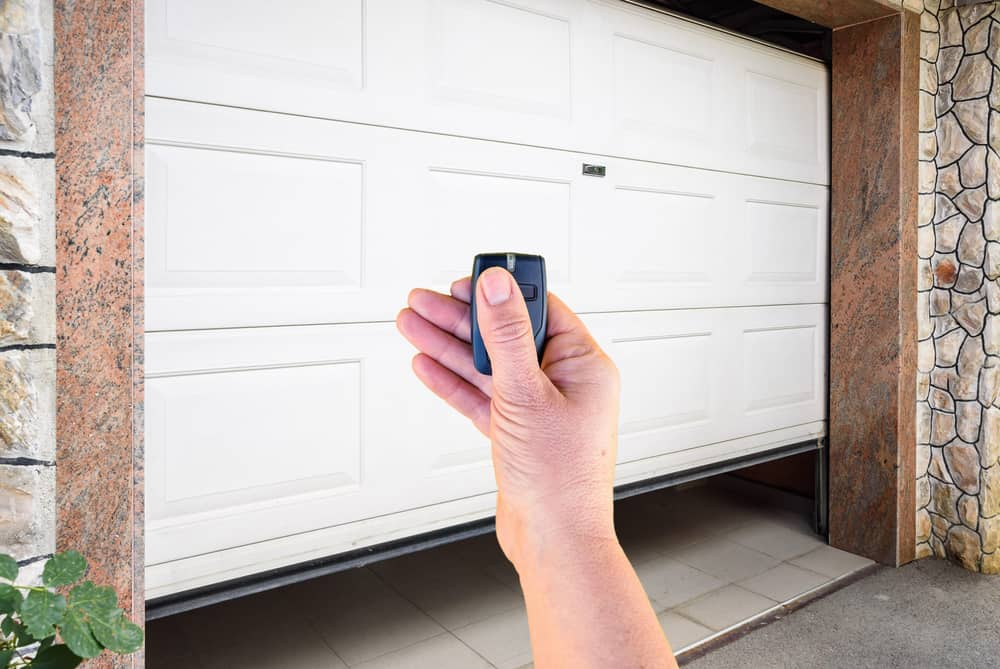
Remote Control
The remote control is a small, handheld device that allows you to operate your garage door opener from a short distance. It’s incredibly convenient, especially on rainy or snowy days when you don’t want to leave your car to open the garage manually.
Sensors
Sensors are important safety features located near the bottom of the garage door tracks. They use an invisible beam to detect if there is something in the way of the closing door. If the beam is interrupted, the sensors signal the door to stop and reverse, preventing accidents and ensuring safety.

Preparing for Programming
Before you start programming your garage door opener, ensuring you have everything needed will streamline the process and minimize frustration.
Gather Necessary Tools
Typically, programming a garage door opener requires minimal tools, but you should have:
- A sturdy ladder to safely reach the unit.
- The owner’s manual that came with your door opener.
- A handheld or portable remote control designed to work with your opener model.
Ensure your tools and manual are at hand before you begin.
Understanding the Remote Control
The remote control is your main tool for programming the garage door opener. Common features include:
- Buttons: The main button opens and closes the door. Additional buttons may control lights or other garage doors.
- LED Indicator: This light provides visual feedback, helping you know if your commands and programming steps are successful.
- Programming Button: Found on the garage door opener unit, this button starts the programming process, allowing your remote to sync with the opener.
Steps on How to Program Your Garage Door Opener
Step 1: Locating the “Learn” Button
Before you can program your remote, you need to locate the “Learn” button on your garage door opener. This button is usually found on the back or side of the opener unit mounted on your garage ceiling. It may be hidden behind a light cover, so you might need to remove that cover to access it. The “Learn” button is typically colored red, yellow, or purple. Pressing this button puts your opener into programming mode, allowing you to sync it with new remotes.
Step 2: Programming the Remote
Once the “Learn” button is located and accessible:
- Press and release the “Learn” button. The LED light near the button will turn on, indicating that the opener is ready to be programmed.
- Within 30 seconds, press and hold the button on the remote you wish to program.
- Hold the button down until the LED light on the opener blinks or you hear a clicking sound. This indicates that the remote has been programmed to the opener.
- If you have additional remotes to program, repeat these steps with each remote.
Step 3: Testing the Programming
After programming your remote, it’s important to test it to ensure it works properly. Step away from the opener to a typical distance from where you might use the remote (e.g., in your car). Press the programmed button on the remote to see if the garage door reacts:
- The door should open or close, depending on its initial position.
- If the door does not respond, ensure you are within range and there are no obstructions between the remote and the opener.
- Re-attempt programming if necessary.
Troubleshooting Common Issues
Remote Control Not Working
If your newly programmed or previously working remote control fails to operate the garage door, check:
- Battery levels. Replace if needed.
- Whether the remote has been properly programmed. Reprogram if doubtful.
- Interference from nearby devices.
Garage Door Not Responding to Commands
When your garage door doesn’t respond to any commands, from either a remote or the wall button, consider:
- Checking the power source (e.g., circuit breaker, power cord).
- Inspecting sensors for obstructions or alignment issues. Clean and realign if necessary.
- Examining the door tracks for any blockages or damage.
Resetting the Opener
Should your garage door opener continue to malfunction despite other troubleshooting attempts, a reset might be necessary:
- Unplug the opener from its power source.
- Wait about a minute.
- Plug it back in.
Resetting can resolve unknown issues or glitches in the system. After resetting, reprogram your remotes as per the earlier steps to synchronize them with your garage door opener.
Maintenance Tips for Your Garage Door Opener
Maintaining your garage door opener is not only essential for ensuring it operates efficiently, but it also extends the life of both the opener and the door itself. Implementing a routine maintenance schedule can save you from unnecessary repairs and increase safety around your home. Here are a few important areas to focus on:
Regular Inspection
Regular inspections are a key component of garage door opener maintenance. Every few months, take the time to check the following:
- Tracks and Rollers: Examine the tracks and rollers for any signs of wear or damage such as rust or dents. Ensure they are aligned properly and clear of debris or obstructions.
- Door Balance: Disconnect the opener by pulling the release handle (usually a red cord), and manually move the door halfway up. If it fails to remain in position, it could be a sign that the springs require adjustment.
- However, since adjusting springs can be dangerous, consider hiring a professional if necessary.
- Sensors: Check the sensors at the bottom of the door frame. They should be clean and aligned directly across from each other. If the door isn’t closing properly or reverses suddenly, misaligned sensors could be the cause.
Lubrication of Moving Parts
Proper lubrication reduces resistance in moving parts, minimizing wear and tear and preventing noise:
- Springs, Hinges, and Chains: Apply a light spray lubricant to the springs, hinges, and chains at least once a year. Avoid using heavy grease as it can attract dirt that hampers operation.
- Rollers: If your door has metal rollers, lubricate them as well. However, if the rollers are made of nylon, only lubricate the bearings without getting any lubricant on the nylon itself.
- Locks and Arm Bar: These lesser-noted parts also benefit from occasional lubrication to keep them functioning smoothly.
Replacing Batteries
The remote control for your garage door opener is powered by batteries, which should be replaced periodically:
- Take off the back cover of the remote to reach the battery compartment.
- Replace the old batteries with new ones, making sure they are correctly oriented as per the markings in the compartment.
- Consider changing the batteries in the keypad, if applicable, at the same time.
Frequently Asked Questions
What steps should I take if my garage door opener lacks a ‘Learn’ button?
Not all garage door openers use a ‘Learn’ button. If yours doesn’t, it likely involves DIP switches. You’ll find these tiny switches inside the remote and the main unit, and they need to match exactly. Adjust these switches using a small screwdriver or a pen to align the positions in both the remote and the opener accordingly.
How do I reset my garage door opener?
To reset your garage door opener, usually, you will need to press and hold the ‘Learn’ button on the motor unit for about 6 seconds until the indicator light goes out. This action erases all programmed remote controls from the opener’s memory. After this, you’ll need to reprogram your remotes following the steps discussed earlier.
Can I program my car’s built-in remote to my garage door opener?
Yes, many cars equipped with built-in garage door remotes can be programmed to sync with your garage door opener. The process generally involves pressing a specific button on your car’s remote system while also pressing the ‘Learn’ button on the garage door opener. Consult both your vehicle’s and the opener’s manual for detailed instructions specific to your models.
Why does my garage door opener reactivate on its own?
If your garage door opener activates on its own, it could be due to a few reasons:
- A neighbor’s remote control operates on the same frequency as mine.
- Electrical shorts in the wiring or the control unit.
To fix this, first, check and replace any damaged wires, and reset or reprogram your opener following the security steps to ensure a unique code. If the problem persists, consider getting professional assistance.
What maintenance should I perform after programming my garage door opener?
Post programming, regular maintenance is essential. Some easy steps include:
- Periodically check and replace batteries in remotes.
- Lubricate moving parts annually with the suitable garage door lubricant.
- Check the rollers, cables, and springs for signs of wear and tear.
These simple practices will help ensure your garage door remains functional and extend its lifespan.
Conclusion
By following our 2024 guide, you’re empowering yourself to handle minor issues and ensuring that your home remains a safe haven. At All About Doors, we understand that a smoothly functioning garage door opener is more than just a convenience—it’s a critical component of your home’s security and ease of access.
Imagine never worrying about getting stuck outside in bad weather or the uncertainty of whether your garage door will work properly. With a few simple steps, you can achieve peace of mind and even save money that would otherwise go to professional garage door repair. Our guide is designed for everyone, from the seasoned DIY enthusiast to the complete beginner, making the process straightforward and stress-free.
Don’t let garage door troubles disrupt your day. Take control with All About Doors expert tips and step-by-step instructions. Remember that All About Doors is here if you ever need more help or prefer a professional touch. We offer top-notch services to keep your garage door running smoothly and securely.
Grab your tools, follow our guide, and experience the satisfaction of a job well done. And if you ever need us, you know we’re just a call away. Let’s make your home a little more secure and your life a lot easier—together.
End Note
Thank you for diving into our latest blog! At All About Doors, we pride ourselves on providing exceptional garage door services that keep your home both secure and stylish. Whether you need garage door repair in Glen Burnie or Anne Arundel County, our expert team is here to help.
Explore the high-quality work we do by visiting our gallery. You’ll see firsthand the transformations we’ve achieved for our satisfied clients. Curious about our story and what drives us? Head over to our About Us page to learn more about our commitment to excellence and customer satisfaction.
Stay informed with the latest tips, trends, and industry news by browsing our comprehensive blog. From maintenance advice to innovative garage door solutions, we cover it all. Plus, our blog is a great resource for homeowners looking to enhance their garage door knowledge.
Connect with us on Facebook for real-time updates, exclusive promotions, and a peek into our day-to-day operations. We love engaging with our community and sharing valuable insights that can help you make the best decisions for your home.
For any and all garage door needs, visit our website All About Doors. Our dedicated team is ready to assist you with top-notch services and expert advice. Let us be your go-to solution for all things garage doors – because at All About Doors, your satisfaction is our top priority!